Installing WordPress on Windows: Part1
Installing WordPress on Windows: Part2
Installing WordPress on Windows: Part3
Installing WordPress on Windows: Part4
I think that is necessary to write, how to install WordPress on Windows, using IIS. In fact, that is not so easy task to do it in the right way. We have to take care of security, performance and stability.
If we want to install WordPress on Windows, we need MySQL Community Server, PHP for Windows and IIS installation and configuration. WordPress can be installed on Windows 10/11 or any version of Windows Server. In our case, we will install WordPress on Windows Server 2022.
In the first part we will cover MySQL Community Server installation and configuration.
On a fresh Windows Server 2022 installation, we download the latest MySQL Installer MSI (8.0.27) from Official Oracle Web page (mysql-installer-community-8.0.27.1.msi).
Now, we need to run MySQL Installer MSI.
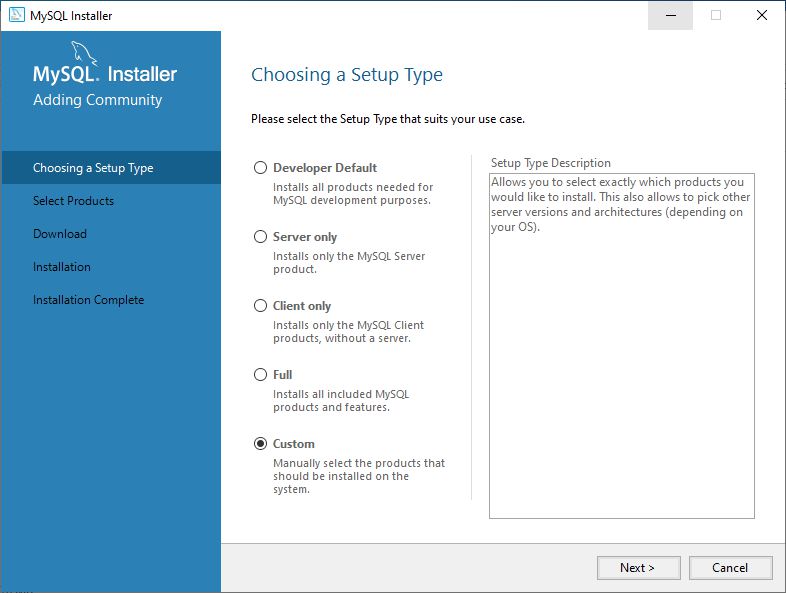
On the Choosing a Setup Type screen, we select the Custom option.
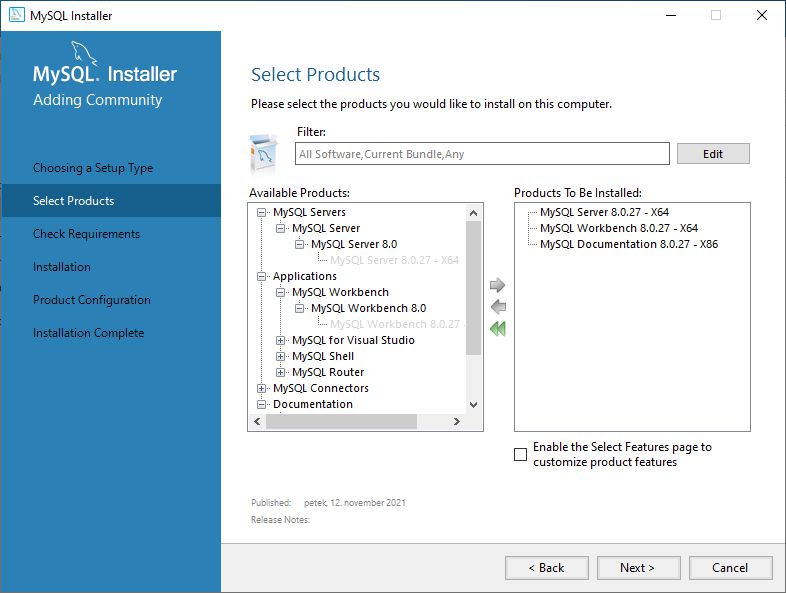
On the Select Products screen, we select MySQL Server 8.0.27 – X64, MySQL Workbench 8.0.27 – X64 and MySQL Documentation 8.0.27 – X86.
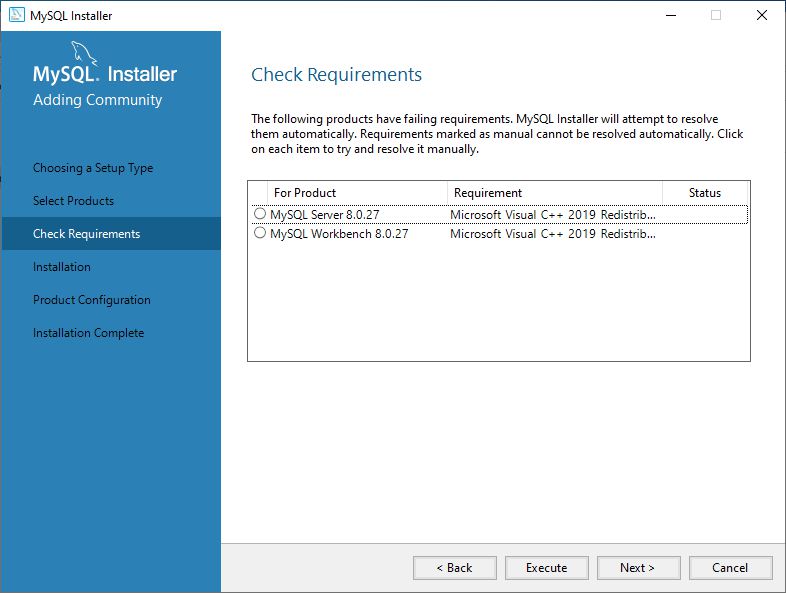
On the Check Requirements screen, we have to install Microsoft Visual C++ 2015-2019 Redistributable (x64). We can do it by selecting Execute button below.
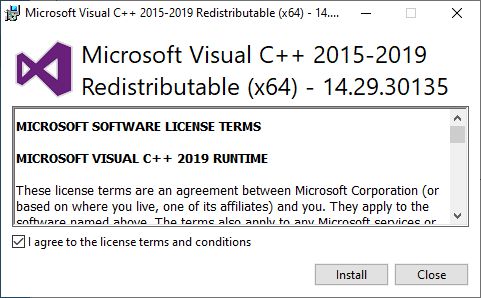
We have to agree to the license terms and conditions.
After, that we can see the confirmation, that requirements are fulfilled.

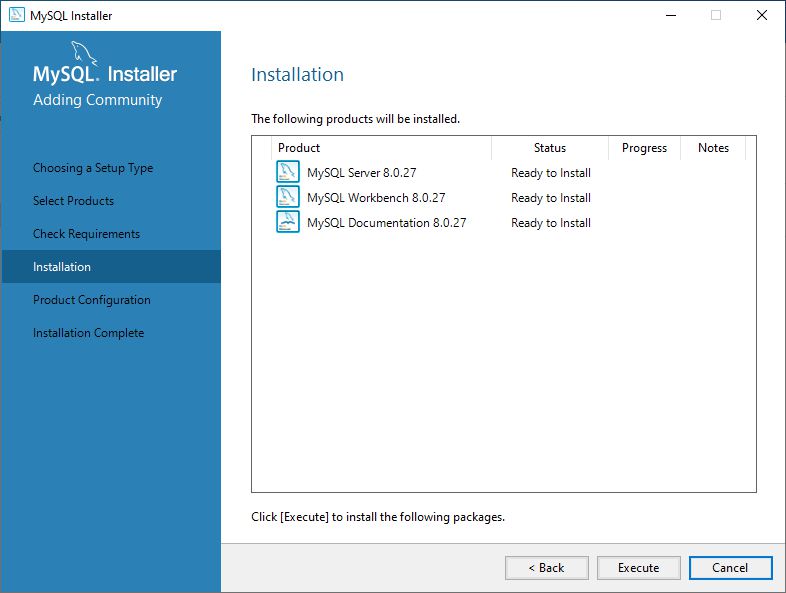
On the Installation screen, we are ready to install selected products by selecting the Execute button below.
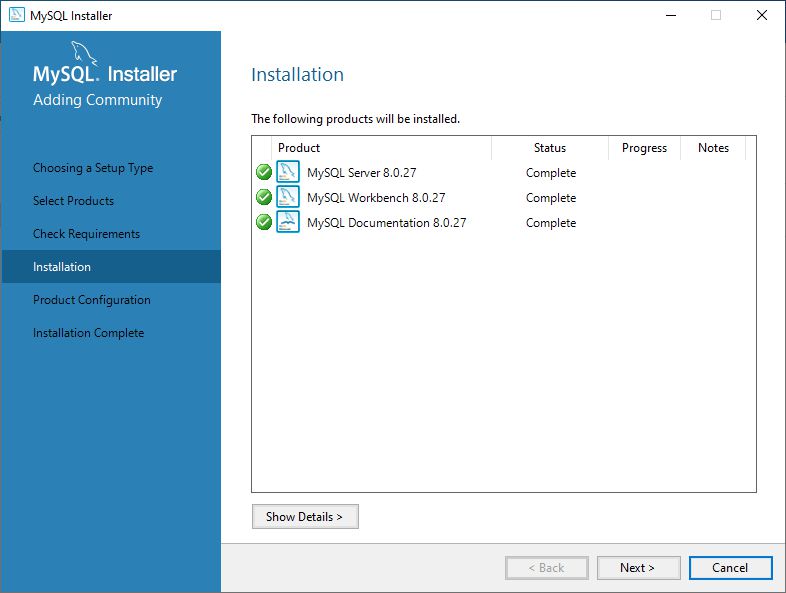
We can see that Products are installed successfully.
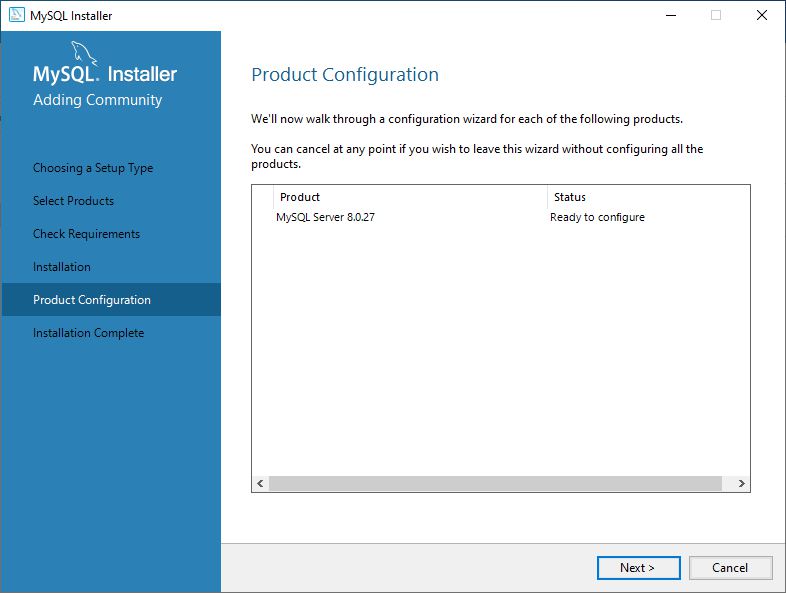
On the Product Configuration screen, we are ready to configure MySQL Server.
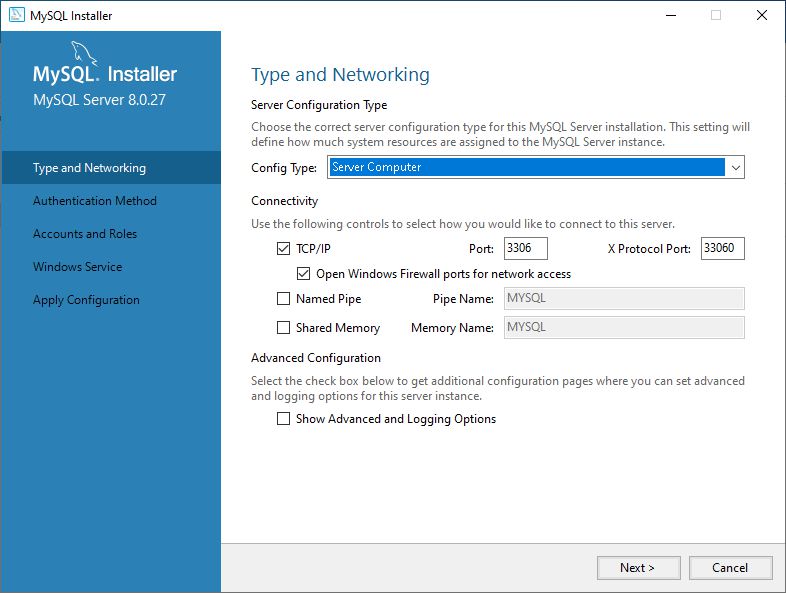
On the Type and Networking screen, we choose the appropriate Config Type option. For the production use, we choose Server Computer.
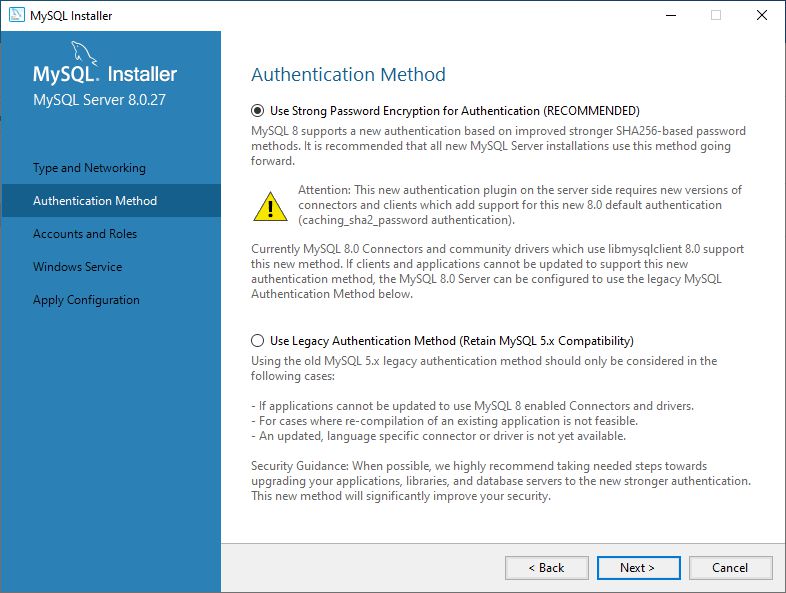
On the Authentication Method screen, we choose the recommended Use Strong Password Encryption for Authentication option.
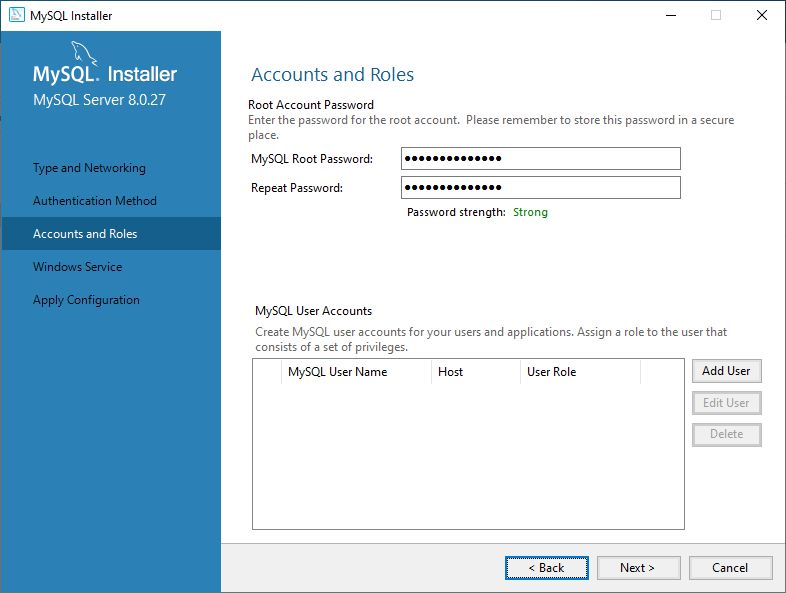
On the Accounts and Roles screen, we enter the strong MySQL Root Password.
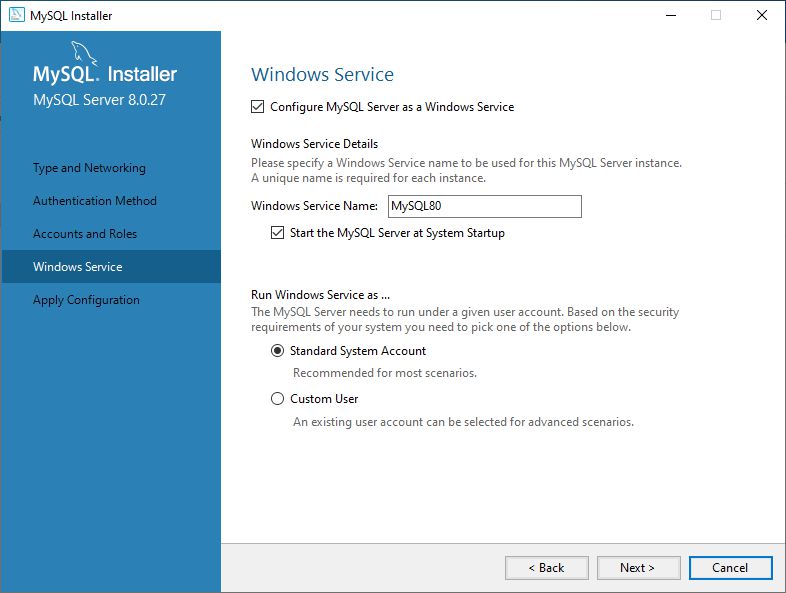
On the Windows Service screen, we can use the default options. If we want, we can edit the Windows Service Name.
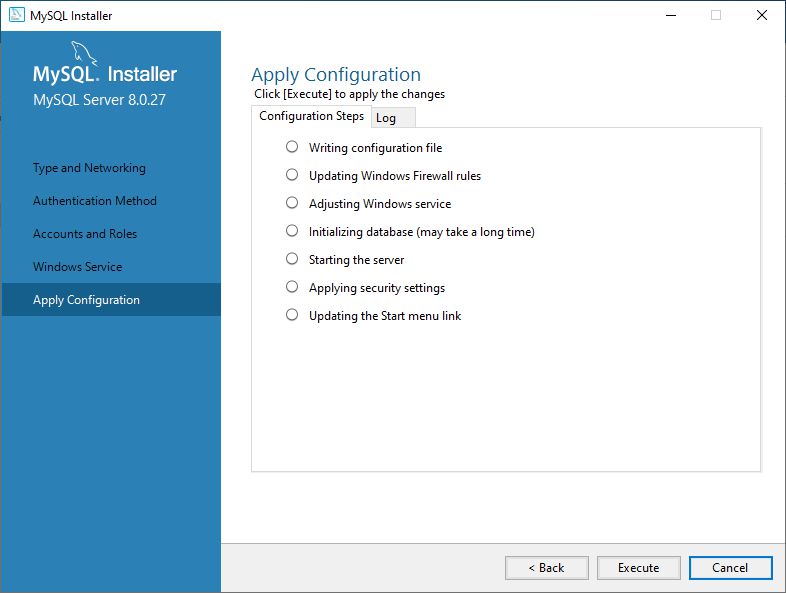
On the Apply Configuration screen, we are ready to apply the selected configuration settings by selecting the Execute button below.
We can see that everything is configured successfully.

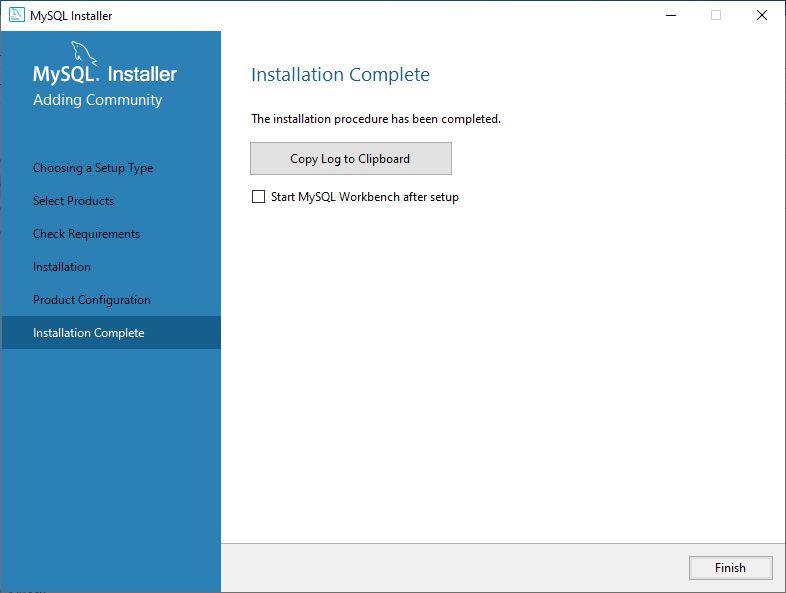
On the Installation Complete screen we see, that the MySQL installation and configuration has been completed.
We need an empty database which is needed for WordPress.
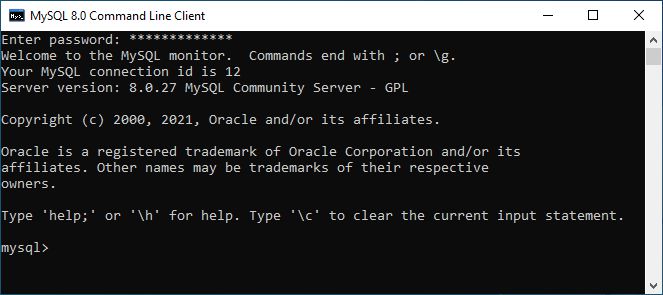
We can create it by using MySQL Workbench, but we can do it easier by using the installed MySQL 8.0 Command Line Client. After we start it, we have to enter our MySQL Root password.
Firstly, we have to create an empty database, named wordpress:
create database wordpress;
Then, we have to use the created database wordpress:
use wordpress;
We create the user, named wpadmin with wpadmin_password (the wpadmin password should be different, then the password for the root user).
create user ‘wpadmin’@’%’ identified by ‘wpadmin_password’;
wpadmin user must have all rights on the wordpress database:
grant all on wordpress.* to ‘wpadmin’@’%’;
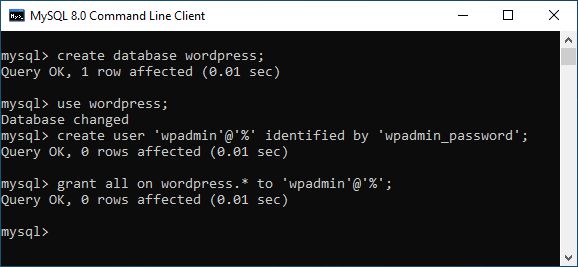
We have successfully created an empty database, named wordpress and the user wpadmin that will be used for the WordPress.
Next, we have to install and configure PHP.
Leave a Comment